FMEA Studio has many built-in templates. However, you may want to customize these templates to make them fit your use. This article will show you how to do it with FMEA Studio.
1. Customize the template’s header

The header of a template includes general information about the object (product or process) being analyzed and the document revision. This area of an FMEA Studio’s template can be edited as a normal excel area. For example, you can add a new, or add, remove or modify the fields of the template’s header.
1.1 Adding a new row for the header
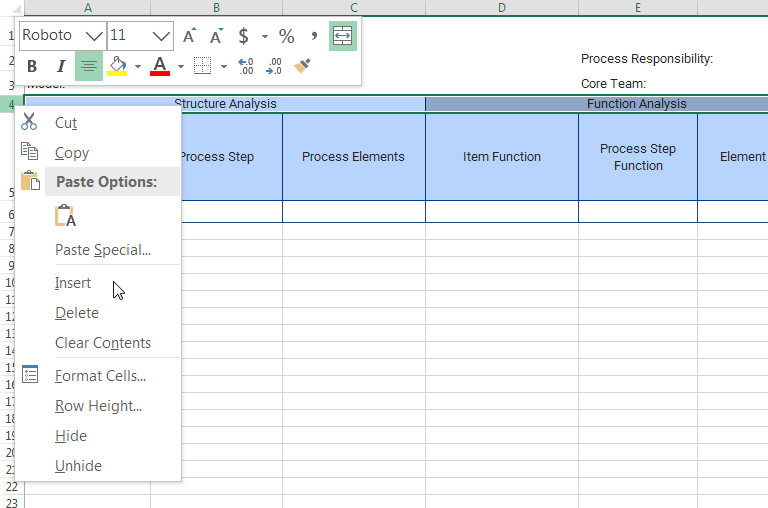
- Right-click the row headings in the worksheet you want to add a new row

- Select Insert to add a new row above it.
2. Customize columns
2.1 Insert a new column
To add a new column, follow these steps:
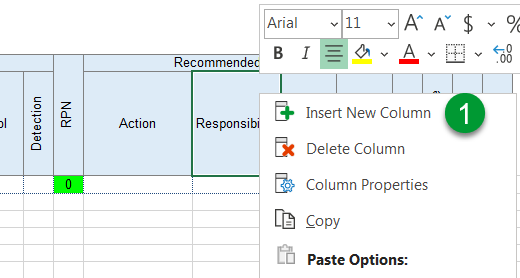
- Right-click the column header where you want to insert a new column. On the right-click menu, select Insert New Column.

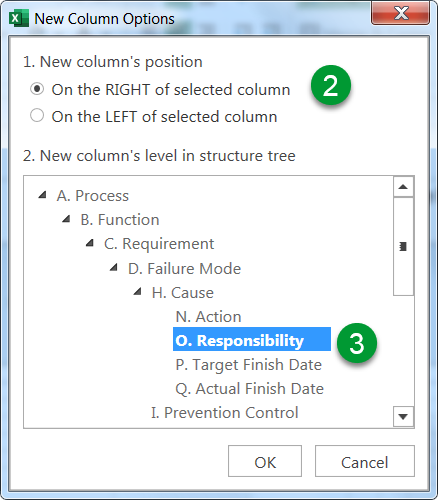
- The New Column Options dialog box opens. Select the position of the new column. There are two positions: on the right or the left of the selected column.

- In the column hierarchy structure tree, select a column with which the new column has the same level.
- Click OK. If you want to cancel, just click Cancel.
Note:
- You should not use Excel’s native insert tool (from right-click menu or home tab) to insert a new column with FMEA Studio’s document (worksheet).
2.2 Delete an existing column
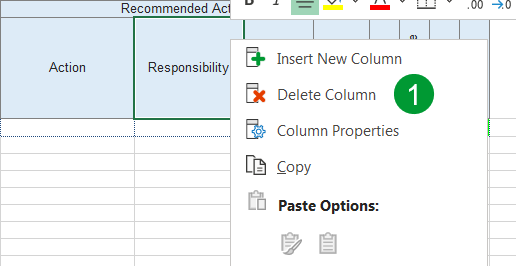
Deleting a column of a template (form) is a little bit different than deleting a regular column of a worksheet because you need to remove its relationships with other columns first. Here is how to do it:
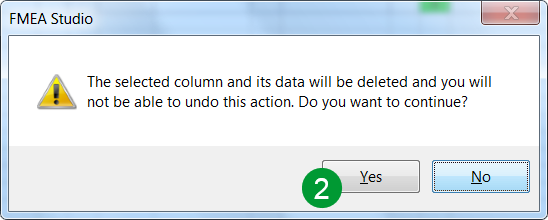
- Righ-click the header of the column you want to delete. In the right-click menu, select Delete Column.

- A warning message shows up. Click Yes to continue.

2.3 Modify a column’s header
If you want to modify the content of a column’s header, modify it as any other cell in Excel.

Notes: don’t move, cut or drag the template’s column headers because it will make the template not work correctly. If you do it unintendedly, please undo it.
2.4 Change column properties
The Column Properties dialog box allows you to change the following properties: column description and data type. To open the Column Properties dialog box, right-click a column’s header and select Column Properties.

2.4.1 Column Description
This field allows you to store the custom description information about columns like instructions and tips.
2.4.2 Column Data Type
Setting Data Type allows you to change the data format on the column. There are many options data types:
- Editable: Editable is a default data type. This data type allows the user to edit directly on the cell of the column. You can also use “Use Value List” to set the list of data you want to select for each cell of the column.
- Risk Priority Number: these options allow to set the focused column as an RPN column.
- Severity-Occurrence-Detection: this option allows you to set the selected column cell data calculated based on the Severity-Occurrence-Detection formula.
- Action Priority: This option allows you to set the selected column’s data value calculated based on the Action Priority table.
- Critical Number: This option allows you to set the selected column’s data value calculated based on the Critical Number formula.
- Risk Matrix: this option allows you to set the selected column’s data value calculated based on a Risk Matrix (2 or 3 elements).
3. How to save a template
An FMEA Studio template is an Excel workbook, and you can save it as a template for future use with instructions here.